How to Style and Position WebVTT Captions: Cue Settings, STYLE Blocks, and CSS ::cue
Learn how to move, align, resize, and style WebVTT captions with line, position, size, align, vertical text, cue-text markup, embedded STYLE blocks, and CSS ::cue.
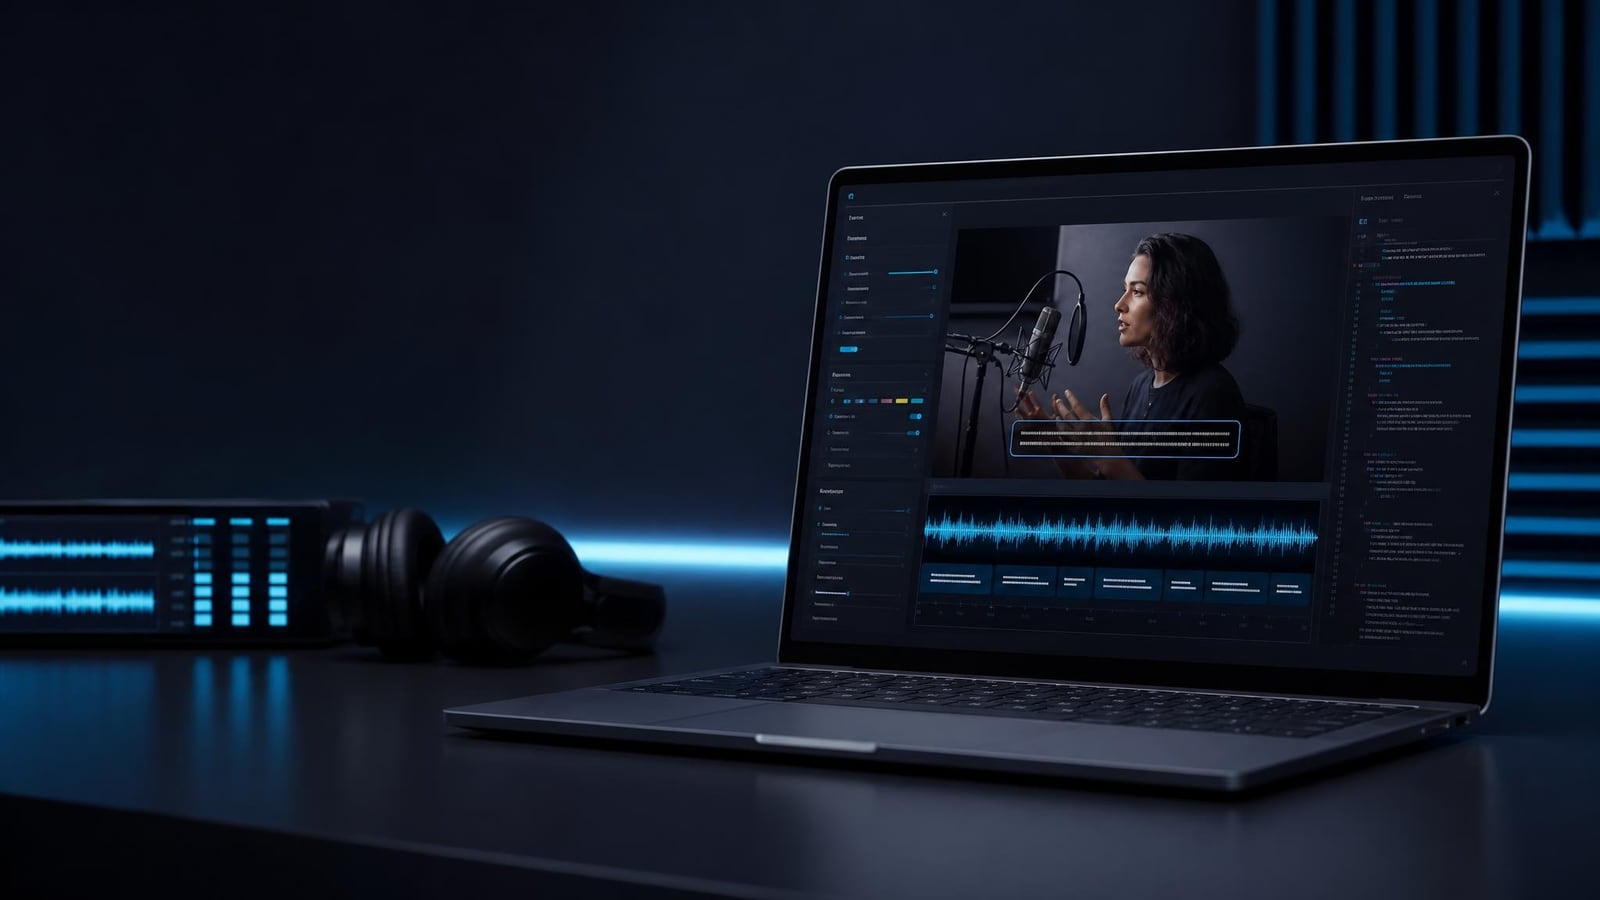
WebVTT separates placement from appearance. Put line, position, size, align, and vertical settings after a cue’s end timestamp when you need to move, align, or resize its box. Use STYLE blocks or CSS ::cue rules when you need to change supported colors, backgrounds, fonts, outlines, or text decoration.
That distinction is the key to predictable authoring: cue settings describe where the caption belongs, while CSS describes how it looks. Neither mechanism guarantees pixel-identical output across every browser, operating system, embedded player, or publishing platform. Treat the standards-defined syntax as the source, then verify the rendered result in your actual delivery environment.
If you need a refresher before working with placement rules, start with what a VTT file is or follow the practical steps in how to create a VTT file.
Connect the WebVTT file to an HTML video first
The HTML <track> element connects an external timed-text resource to a <video> element. The current WHATWG HTML Standard defines the relationship between media elements, tracks, cues, languages, labels, and track modes.
<video controls src="interview.mp4">
  <track
    default
    kind="captions"
    srclang="en"
    label="English"
    src="captions-en.vtt">
</video>
Use kind="captions" when the track includes dialogue, sound effects, relevant musical cues, and other audio information needed when sound is unavailable or unclear. Use kind="subtitles" for a transcription or translation of dialogue intended for viewers who can hear the audio but do not understand it. A subtitle track requires a valid srclang language tag. A clear label helps viewers identify the track in the player menu.
The default attribute indicates that the track should be enabled when the viewer’s preferences do not identify another track as more appropriate. It should not be treated as a way to override user choices. If a player replaces native text-track rendering with a custom caption layer, check that player’s WebVTT support separately.
Place captions with WebVTT cue settings
Cue settings appear on the same line as the timestamps, after the end time. Their recognized names and keyword values are case-sensitive, so write them in lowercase. Separate settings with spaces and do not repeat the same setting on one timing line.
WEBVTT

00:00:02.000 --> 00:00:05.000 line:85% position:50% size:70% align:center
A centered caption near the bottom.

00:00:06.000 --> 00:00:09.000 line:12% position:10%,line-left size:38% align:start
A label near the upper-left area.
The five main placement settings defined by the W3C WebVTT specification have related but distinct jobs:
| Setting | Purpose for horizontal cues | Typical values |
|---|---|---|
line | Places the cue on the vertical, or cross, axis. | -1, 0, 20%, 85%,end |
position | Sets the cue box’s horizontal anchor. | 10%, 50%,center, 90%,line-right |
size | Limits the cue box’s width. | 35%, 70%, 100% |
align | Aligns text inside the cue box. | start, center, end, left, right |
vertical | Switches the cue to vertical writing and changes how the other axes are interpreted. | rl or lr |
Use line for the cross-axis location
For a normal horizontal cue, line determines its vertical location. A numeric line value uses line-based placement: positive numbers count from the top, beginning with line 0, while negative numbers count from the bottom. This makes line:-1 a useful way to request the last line without hard-coding a percentage.
00:00:10.000 --> 00:00:13.000 line:-1
Placed on the last available line.
A percentage requests a proportional offset in the video viewport and turns off snapping to numbered lines. It can be followed by start, center, or end after a comma to specify which part of the cue box is aligned with that offset.
00:00:14.000 --> 00:00:17.000 line:20%,start
Placed near the top with the box’s start edge at the offset.
Percentage placement can help avoid a persistent name strap, presentation title, or other known visual element. It is not object tracking: the cue does not automatically follow a moving speaker or graphic.
Combine position and size to define a horizontal zone
For horizontal captions, position uses a percentage of the video viewport’s width. The optional value after the comma identifies which side or point of the cue box is attached to that percentage. For example, position:10%,line-left size:35% anchors the line-left edge at 10% and gives the box a width of 35%.
00:00:18.000 --> 00:00:22.000 position:10%,line-left size:35% align:start
<v Maya>I entered from this side.

00:00:18.000 --> 00:00:22.000 position:90%,line-right size:35% align:end
<v Noah>And I entered from the other side.
position anchors the box; align controls the text inside it. Do not use align as a substitute for explicit placement. Logical values such as start and end follow the base direction of each line, whereas left and right refer to physical sides.
Reducing size also leaves less room for text. A narrow box may suit one short cue but create excessive wrapping after the text is edited or translated.
Understand what changes for vertical cues
vertical:rl creates vertical text whose lines progress toward the left; vertical:lr makes them progress toward the right. Once vertical writing is enabled, the axes change: line controls horizontal placement, position controls vertical placement, and size controls the cue box’s height rather than its width.
00:00:23.000 --> 00:00:27.000 vertical:rl line:0 position:10% size:45% align:start
Vertical cue text
Use vertical settings for content that genuinely calls for vertical writing. They are not a rotation shortcut for decorative English captions. WebVTT regions are also limited in this respect: the specification defines regions only for horizontal cues.
Style all captions with a WebVTT STYLE block
An embedded STYLE block keeps supported cue styling in the VTT resource. Place it after the WEBVTT header and any applicable header metadata, but before the first cue. A STYLE block appearing after the first cue is not treated as a valid style block.
WEBVTT

STYLE
::cue {
  color: white;
  background-color: rgb(0 0 0 / 70%);
  font-family: sans-serif;
  text-shadow: 0 1px 2px black;
}

00:00:02.000 --> 00:00:05.000
A globally styled caption.
Do not put an empty line inside the CSS portion of a STYLE block, because a blank line terminates the block. The block also cannot contain the --> character sequence used as the WebVTT timing arrow. Multiple style blocks may appear before the first cue, and NOTE comment blocks may be placed between them.
A STYLE block controls supported visual properties, not cue layout. Rules such as left, top, transform, margin, or position:absolute are not replacements for WebVTT cue settings. Properties outside the set permitted for WebVTT cues are ignored by the standards-defined processing model.
Use page CSS and ::cue when the player belongs to your site
If you control the page containing the video, you can put ::cue rules in the document’s stylesheet. Prefixing the pseudo-element with a video selector limits the rule to matching video elements.
video.lesson::cue {
  color: white;
  background-color: rgb(0 0 0 / 72%);
  font-family: system-ui, sans-serif;
  font-size: 1.05rem;
  line-height: 1.3;
  text-shadow: 0 1px 2px black;
}
The WebVTT specification permits a defined subset of CSS properties for cues. This set includes color, background-related properties, font properties, line height, opacity, visibility, text decoration, text shadow, outline, white-space, and properties related to upright combined text and ruby position. Other properties must be ignored by the standards-defined cue styling model.
In particular, familiar box-layout techniques such as padding, border radius, Flexbox, Grid, and transforms should not be assumed to work on native cues. Use cue settings for placement instead of trying to turn a native cue into an ordinary positioned HTML box.
Document CSS is convenient for site-wide visual consistency, while an embedded STYLE block travels with the VTT file. The better choice depends on where the track will be reused. If the file will be uploaded to third-party services or opened in video editors, confirm whether those systems preserve and honor embedded styling. For related workflow considerations, read using VTT transcription in video editors.
Style selected words, speakers, languages, or cues
WebVTT cue text supports a limited markup vocabulary rather than arbitrary HTML. Relevant tags include <b>, <i>, <u>, <c> for classes, <v> for voices, <lang> for language changes, and the ruby-related <ruby> and <rt> tags.
WEBVTT

STYLE
::cue(.speaker-a) {
  color: cyan;
}
::cue(.speaker-b) {
  color: yellow;
}
::cue(i) {
  font-style: italic;
}

00:00:02.000 --> 00:00:05.000
<v.speaker-a Maya>The door is open.

00:00:05.000 --> 00:00:08.000
<v.speaker-b Noah>I can see it. <i>Footsteps</i>
A voice span can also be selected by its voice annotation:
video::cue(v[voice="Maya"]) {
  color: cyan;
}
To target one cue, add a cue identifier on the line before its timestamps and use an ID selector. Choose simple identifiers when possible because CSS-special characters and leading digits may require escaping.
WEBVTT

STYLE
::cue(#intro-title) {
  font-weight: bold;
  color: yellow;
}

intro-title
00:00:00.000 --> 00:00:03.500 line:10% size:80%
Chapter One
Keep semantic meaning separate from color whenever possible. A speaker’s identity, a sound effect, or emphasis should remain understandable even if the viewer’s caption preferences or the player’s renderer changes the intended colors.
A complete positioned and styled WebVTT example
WEBVTT

STYLE
::cue {
  color: white;
  background-color: rgb(0 0 0 / 70%);
  font-family: sans-serif;
  text-shadow: 0 1px 2px black;
}
::cue(.maya) {
  color: cyan;
}
::cue(.noah) {
  color: yellow;
}

00:00:01.000 --> 00:00:04.000 line:-1 position:50% size:75% align:center
The interview begins.

00:00:04.000 --> 00:00:08.000 line:78% position:8%,line-left size:40% align:start
<v.maya Maya>My desk is on the left.

00:00:05.500 --> 00:00:09.500 line:78% position:92%,line-right size:40% align:end
<v.noah Noah>Mine is on the right.

00:00:10.000 --> 00:00:13.000 line:12% position:50% size:65% align:center
<i>A notification appears at the bottom of the screen.</i>
The final cue is moved toward the top because the described on-screen notification occupies the lower area. The two speaker cues use separate boxes and overlap in time. Whether that composition remains readable depends on the video’s aspect ratio, text length, font metrics, player controls, and the renderer’s collision handling, so test it with realistic content rather than a single short sample.
Test the source syntax and the rendered result
- Validate the basic file structure. Keep the
WEBVTTheader first, separate blocks with blank lines, and check every timestamp. - Test narrow and wide layouts. Caption text wraps according to the available cue-box size and rendered font metrics.
- Check long translations. A position that works for a short English cue may crowd a longer translation.
- Respect viewer preferences. Native caption rendering may incorporate user-selected font, color, size, or contrast preferences.
- Test the destination player. Browser-native video, custom web players, editors, and publishing services may support different subsets or may rewrite the file.
- Retain an unstyled master. If a distribution platform removes styling, you can generate a destination-specific copy without losing the edited text and timing.
If you are building the source track from speech, the next step is usually an editable, timed VTT workflow. See the VTT transcription guide or how to convert audio to VTT. After timing and text are correct, add only the placement and styling needed to keep captions clear without obscuring important visual information.
Related articles
How to Create a VTT File: Best VTT Creator, Generator, and Editor Tools (2026)
Compare every method for creating WebVTT caption files in 2026 — AI transcription tools, online VTT generators, subtitle editor software, SRT converters, and command-line options — so you can pick the right VTT creator for your workflow.
VTT Transcription for Video Editors: Using WebVTT Caption Files in Premiere Pro and DaVinci Resolve
A step-by-step guide for video editors on how to create VTT caption files, import them into Premiere Pro or DaVinci Resolve, edit captions in the timeline, and export finished subtitle tracks ready for YouTube, Vimeo, and HTML5 web video.
Transcription with Timestamps: How to Get Word-Level and Sentence-Level Timing from Audio
Learn how AI transcription generates timestamps at word, phrase, and sentence level — what the output looks like in VTT, SRT, and JSON formats, when to use each granularity, and how to get timed transcripts from any audio or video file.
This article was drafted with AI assistance and reviewed by The Captain before publication.