VTT Transcription for Video Editors: Using WebVTT Caption Files in Premiere Pro and DaVinci Resolve
A step-by-step guide for video editors on how to create VTT caption files, import them into Premiere Pro or DaVinci Resolve, edit captions in the timeline, and export finished subtitle tracks ready for YouTube, Vimeo, and HTML5 web video.
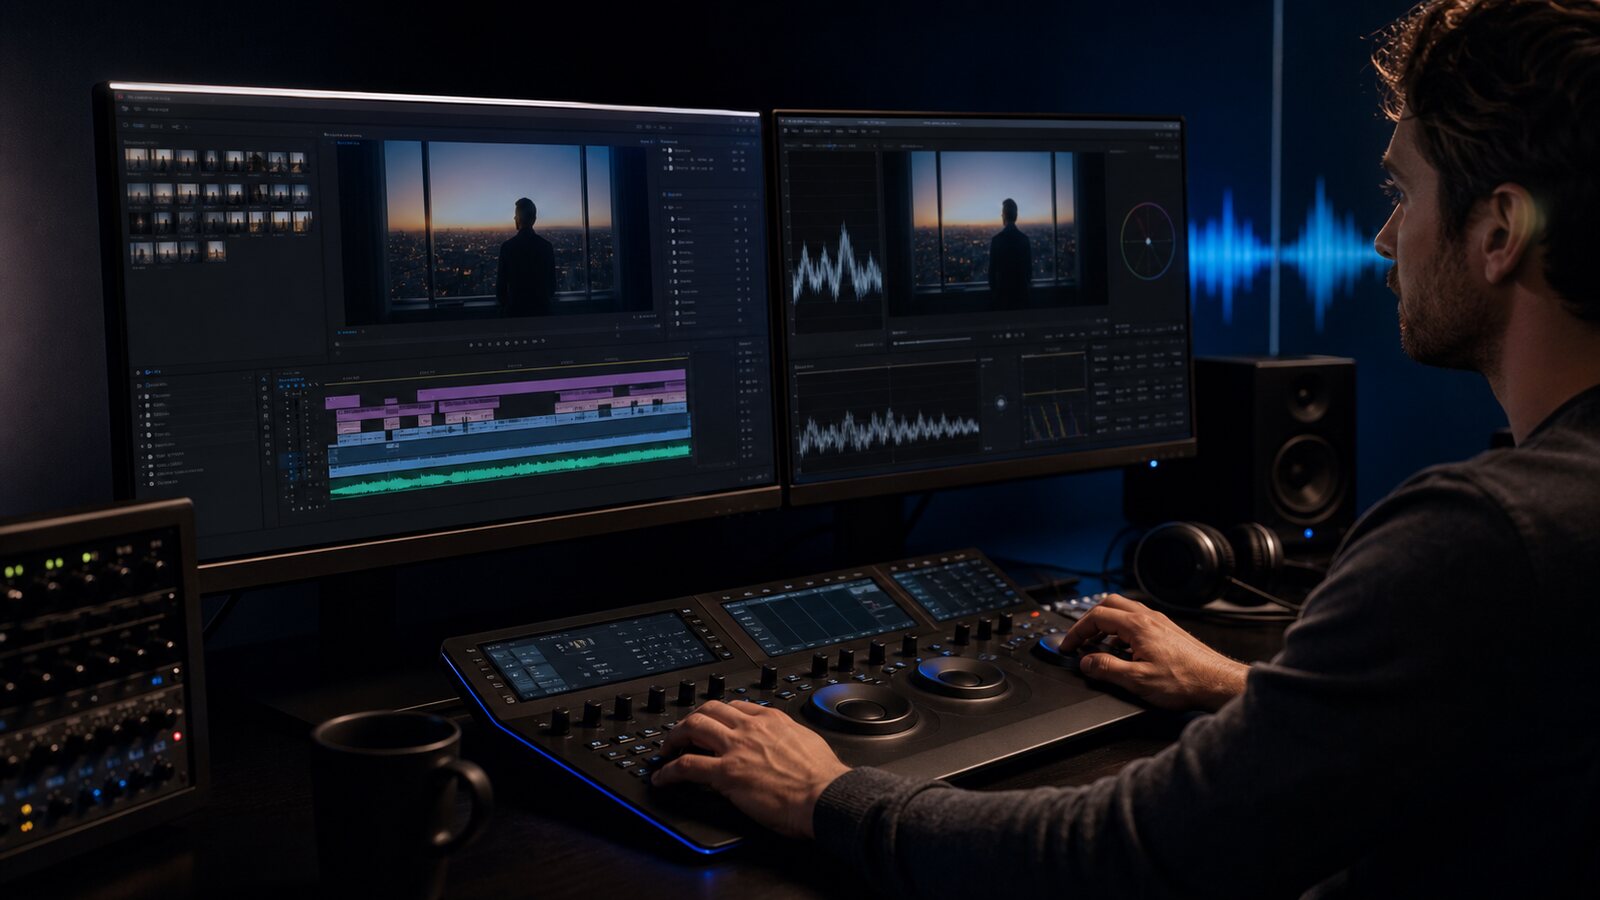
Why Video Editors Need Proper VTT Captions
Professional video production does not end at picture lock. Every video destined for the web — a client's website, YouTube, Vimeo, or an e-learning course — needs synchronized captions to reach the full audience and meet accessibility requirements. For web delivery, that means a WebVTT (.vtt) file: the caption format natively supported by HTML5 video, Vimeo's upload system, and every modern video player.
Platform auto-captions (YouTube's generated captions, Zoom transcripts) are convenient but not reliable for publication-quality content. They average 70–80% accuracy on clean speech and drop significantly on technical vocabulary, accented speakers, or poor audio. The professional workflow is to generate a reviewed VTT transcription file from a dedicated AI tool, then bring that file into your editor where you can check timing against the cut, correct errors, and export the final caption track with the rest of your deliverables. This guide covers that complete process for Premiere Pro and DaVinci Resolve.
Step 1: Create Your VTT Caption File
Before importing captions into your editing software, you need a .vtt file containing the transcribed speech with synchronized cue timestamps. Two methods cover most professional workflows:
Using Captain Transcribe (Recommended)
Captain Transcribe generates an editable VTT draft without installation or command-line tools. Upload a supported source file (MP3, WAV, OGG, OPUS, FLAC, M4A, AAC, MP4, AVI, MOV, MKV, or WebM) up to 95 MB; video files do not need audio pre-extraction.
Three subtitle style options control how VTT cues are segmented:
- Standard — Full-sentence cues. The default for narrative video, interviews, and documentary content. Makes caption review fast because each cue corresponds to a complete thought.
- Short — Two to four words per cue, designed for TikTok, Instagram Reels, and vertical social video.
- Word by word — Each word becomes its own timed cue for fast-paced caption layouts.
For most editorial workflows, use Standard. Download the .vtt file once processing completes. You can also download the SRT file and plain text transcript from the same job — useful if you need SRT for a client or for Final Cut Pro, where direct VTT import is limited in older versions.
Using OpenAI Whisper (Self-Hosted)
For unlimited batch transcription without per-minute costs, OpenAI Whisper outputs VTT natively:
whisper interview.mp4 --language en --output_format vtt --output_dir ./captionsThis writes interview.vtt to the ./captions directory. Whisper requires Python, PyTorch, and a GPU for practical speeds. A modern NVIDIA GPU processes a 30-minute interview in approximately 30 seconds; without a GPU, the same file takes 20–30 minutes on CPU.
Working with VTT Captions in Premiere Pro
Adobe Premiere Pro 2022 (version 22.3) and later includes a dedicated Captions workspace with full support for VTT and SRT import, timeline editing, and export. The workflow below applies to Premiere Pro 2022 and all subsequent versions.
Importing a VTT File into Premiere Pro
Switch to the Captions workspace via Window > Workspaces > Captions. Then import your VTT file using one of these methods:
- File menu — File > Import (Ctrl+I / Cmd+I), navigate to your
.vttfile, and click Import. The file appears in the Project panel. - Drag and drop — Drag the
.vttfile from your operating system directly into the Project panel.
Once the file is in the Project panel, drag it onto the sequence timeline. Premiere Pro creates a Captions track (labeled CC1 or Subtitle) above the video tracks, with each VTT cue appearing as a colored segment labeled with its text preview.
Editing Captions in Premiere Pro
The Captions panel lists every cue with its text, start time, and end time. Click any cue to jump the playhead to that position and edit the text inline. To adjust timing, drag the cue handles on the timeline or type new timecode values in the Captions panel. Common editorial tasks on AI-generated VTT output:
- Fixing transcription errors — Proper nouns, technical terms, and speaker names are the most frequent AI errors. Click the cue text in the Captions panel and type the correction.
- Splitting a cue — If a cue spans a cut and needs to be divided, position the playhead at the split point and use the Razor tool (C) directly on the caption clip in the timeline.
- Merging cues — Select adjacent caption segments, right-click, and choose Merge, or edit the text of the first cue to include the second cue's text and delete the second segment.
Exporting Captions from Premiere Pro
Go to File > Export > Media (Ctrl+M / Cmd+M). In the export dialog, click the Captions tab and choose your delivery method:
- Sidecar File — Exports a separate
.vtt(or.srt) file alongside the video. Use this for YouTube, Vimeo, and HTML5 web video where the caption file is uploaded separately from the video. - Burn Captions Into Video — Embeds the caption text permanently into the video pixels. Use this for social platforms (TikTok, Instagram Reels) that do not accept separate caption files.
- Embed in Output — Includes captions as a discrete closed-caption stream inside the video container. Used for broadcast deliverables (QuickTime, MXF).
Working with VTT Captions in DaVinci Resolve
DaVinci Resolve 18 and later supports VTT import and export natively in both the free and Studio versions. All caption work happens in the Edit page through the Timeline menu.
Importing Subtitles in DaVinci Resolve
With your project open in the Edit page, go to Timeline > Import Subtitles. Navigate to your .vtt file and click Open. DaVinci Resolve places the captions on a Subtitle track at the top of the timeline, with each VTT cue appearing as a labeled segment.
If your timeline uses a non-zero start timecode (common for broadcast deliverables starting at 01:00:00:00), verify that the VTT file timestamps are relative to the same reference point. Resolve the offset via File > Project Settings > Master Settings > Timeline Start Timecode before importing.
Editing Captions in DaVinci Resolve
Click any caption segment on the Subtitle track to select it. The Inspector panel on the right shows the cue text, start time, and duration — edit the text directly in the Inspector. Timing adjustments can be made by dragging segment handles on the timeline or entering values in the Inspector. For structural changes, DaVinci Resolve provides two dedicated caption operations in the Timeline menu:
- Split Caption — Place the playhead where you want the break, then choose Timeline > Split Caption to divide the selected cue at that point.
- Merge Captions — Select two adjacent subtitle segments, then choose Timeline > Merge Captions to combine them into one cue.
Exporting Subtitles from DaVinci Resolve
To export the corrected caption file after editing, go to File > Export Subtitles. Select WebVTT (.vtt) as the format and choose an output location. DaVinci Resolve writes the file with updated timecodes reflecting any timing edits made in the timeline. For videos with burned-in captions, enable the subtitle burn-in option in the Deliver page render settings.
A Note on Final Cut Pro
Final Cut Pro's caption import system primarily supports SRT and iTT (iTunes Timed Text). Direct VTT import is available in Final Cut Pro 10.7 and later, but for earlier versions — or when import fails — a quick conversion solves the problem. In any plain text editor, reverse the VTT format: remove the WEBVTT header on line 1, change all period timestamp separators (00:00:01.500) to commas (00:00:01,500), and save the file with a .srt extension. See our complete guide on SRT vs VTT subtitle formats for the step-by-step conversion. Import the SRT file into Final Cut Pro via File > Import > Captions.
Deploying Your VTT File After Editing
Once you have exported the final corrected .vtt file from your editor, here is how to deploy it across the most common distribution platforms:
| Platform | Upload Method | Notes |
|---|---|---|
| YouTube | YouTube Studio → Subtitles → Upload file | Accepts both VTT and SRT; replaces auto-generated captions |
| Vimeo | Video settings → Distribution → Subtitles & Captions | VTT is Vimeo's preferred format |
| HTML5 website | <track> element inside the <video> tag | VTT is the only natively supported format |
| E-learning (Moodle, Canvas) | Video settings → Upload caption file | VTT accepted by all major LMS platforms |
| TikTok / Instagram Reels | Burn into video before upload | No separate caption file supported by these platforms |
For HTML5 video, add the .vtt file to your web page using the <track> element:
<video controls>
  <source src="video.mp4" type="video/mp4">
  <track src="captions.vtt" kind="captions" srclang="en" label="English" default>
</video>
Every modern browser — Chrome, Firefox, Safari, Edge — supports WebVTT natively via the <track> element. No JavaScript libraries or plugins are required.
Common Problems and Fixes
| Problem | Likely Cause | Fix |
|---|---|---|
| Premiere Pro won't import the VTT file | Missing WEBVTT header on line 1 | Open the file in a text editor; verify the very first line is exactly WEBVTT with no leading space or BOM |
| Captions appear out of sync in Premiere Pro | Sequence start timecode offset | Check Sequence Settings for the start timecode; adjust the global offset in the Captions panel to compensate |
| DaVinci Resolve shows wrong timecodes after import | Project timeline start timecode mismatch | Go to File > Project Settings > Master Settings and set Timeline Start Timecode to 00:00:00:00 before importing |
| Exported VTT file not recognized by browser | Comma separators in timestamps (SRT syntax) | VTT requires periods in timestamps (00:00:01.500), not commas — run Find & Replace on the exported file |
| Captions not appearing after YouTube upload | Wrong file extension or UTF-8 encoding issue | Ensure the file has a .vtt extension and is saved as UTF-8 without BOM; re-export from your editor if needed |
Key Takeaways
- Create your VTT file before opening your editor — Use Captain Transcribe to generate and review a VTT draft from a supported audio or video file, then bring it into Premiere Pro or DaVinci Resolve.
- Premiere Pro 2022+ imports VTT via File > Import — Drag the imported clip to the Captions track; edit text and timing in the Captions workspace; export as Sidecar VTT for web delivery.
- DaVinci Resolve 18+ imports VTT via Timeline > Import Subtitles — Edit captions in the Inspector panel; export via File > Export Subtitles > WebVTT.
- Final Cut Pro prefers SRT — Convert VTT to SRT with a two-minute text editor fix (swap period to comma in timestamps, remove WEBVTT header) before importing into FCP.
- Match timecodes before importing — Timeline start timecode mismatches are the most common sync problem in both Premiere Pro and DaVinci Resolve caption workflows.
- Use sidecar VTT for YouTube, Vimeo, and HTML5 web video — Only burn captions into the video for social platforms that do not accept separate caption files.
Related Articles
- VTT Transcription: How to Convert Audio and Video to WebVTT Format
- What is a VTT File? Everything You Need to Know About WebVTT
- SRT vs VTT: Which Subtitle Format Should You Use?
- How to Convert MP3, AAC, FLAC, WAV, and MP4 Files to VTT Subtitles
- YouTube Subtitles Guide: How to Add Captions to YouTube Videos
Related articles
Transcription with Timestamps: How to Get Word-Level and Sentence-Level Timing from Audio
Learn how AI transcription generates timestamps at word, phrase, and sentence level — what the output looks like in VTT, SRT, and JSON formats, when to use each granularity, and how to get timed transcripts from any audio or video file.
Transcription APIs with Evaluation Allowances in 2026: Developer Guide
Compare current evaluation allowances and workflows for Google, AssemblyAI, Deepgram, self-hosted Whisper, and Rev AI.
How to Convert MP3, AAC, FLAC, WAV, and MP4 Files to VTT Subtitles
Learn how to convert supported audio and video formats into a WebVTT (.vtt) subtitle file, with recording and review tips.
This article was drafted with AI assistance and reviewed by The Captain before publication.